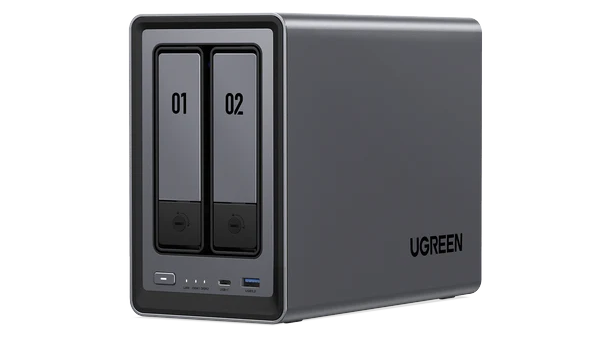
A couple weeks ago I decided to invest in a Network Attached Storage device. I needed more Terabytes than most cloud providers offered without going into custom AWS or Google Cloud setups. After way too much research, I decided to go with the UGreen DXP2800 along with a pair of WD SN850X 1TB NVMe SSD and a pair of WD Red Plus 6TB. You can read about the installation journey here.
One of the reasons I chose the DXP2800 was the relatively low cost for an all-in-one device that offers two NVMe and two SATA. I set up both for RAID 1. The NVMe pool is used for Docker apps and as a scratch disk for large video and design projects. The SATA pool is used for backups of the NVMe pool, local Macs, and phones. I am also using it as a storage volume for Jellyfin.
As I was setting everything up, I realized there was a lot of spaghetti information out there, but it required piecing it all together to get things to work. The most challenging was setting up a WordPress instance for a development environment and allowing it to be accessible publicly outside my LAN. That’s why I decided to put together this post in an attempt to help others save time and frustration.
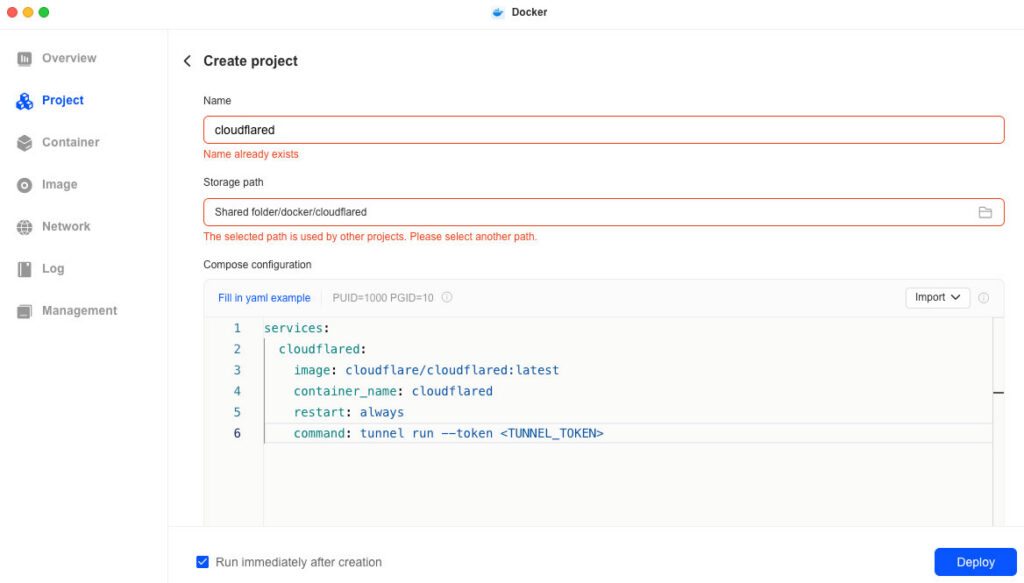
Step 1: Create Docker Project for Cloudflare Daemon
Log in to your UGreen DXP2800 admin on a computer browser. Click on “Docker” then select “Project” on the left navigation bar then click the blue “Create” button.
Type “cloudflared” for the name and select your storage path (I took this screenshot after I already created the project so you can ignore the warnings in red in the screenshot). Copy and paste the below into the “Compose configuration” field after replacing <TUNNEL_TOKEN> with the API token you created in Cloudflare.
No responses yet